A Rough guide to Sig Creation
|
Step 8- Saving and using your sig
|
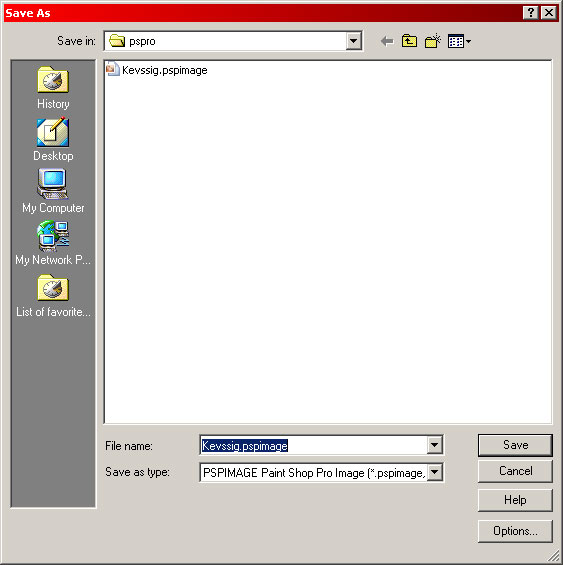
| It is recommended that you save the final sig as a Paint Shop Pro .pspimage or a Photoshop .PSD format picture. This saves all the layer and effect information so that, in time, you will be able to reload the image and edit or modify it. This can be done from the File drop down menu and selecting 'Save As' |
|
|
|
To use the sig, you will need to merge all the layers
to form a single graphic. To do this, right click on any of the active
layer windows and select 'Merge' and ''Merge All (Flatten) from the
resulting menu.
|
 |
|
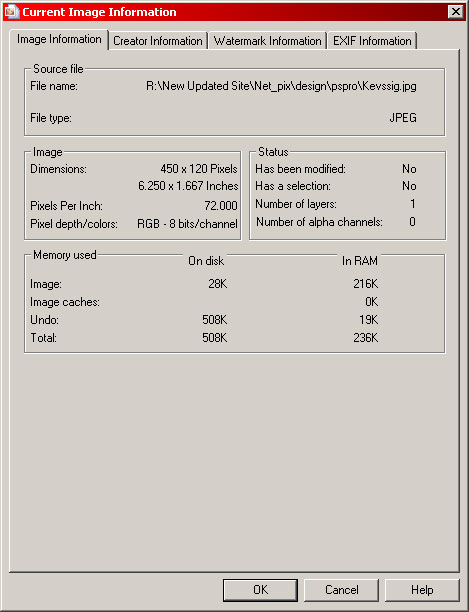
After selecting 'File' and 'Save As', you are able to set the file type to JPEG (.JPG) and the software saves the file. If you want to see how big the file will be, select
the 'Image' drop down menu and select 'Image Information'. That should
give you a dialogue box like the one below. |
|
|
|
As we can see, the sig is within forum dimensions and memory size regulations. Once saved, you can upload to your hosting area and
use it as you see fit. |
|
Enjoy.
|