A Rough guide to Sig Creation
|
Step 3 - Placing the Images
|
|
|
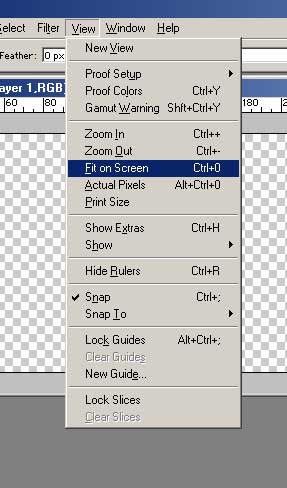
I like to work with enlarged images, therefore, I have magnified my empty sig by selecting 'View' 'Fit on Screen' as shown on the right |
 |
|
|
 |
|
 |
|
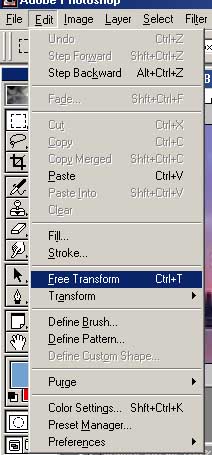 |
The image will need to be re-sized to fit, so select 'Edit' 'Free Transform'
as shown on the left and re-size the image to fit the sig. In the layers box, this should be showing as Layer 1. |
|
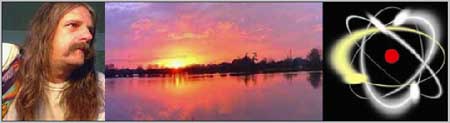
I will now switch to the window with my photo in it. Cut it from here
and paste it into the sig. It should show up as Layer 2. |
 |
|
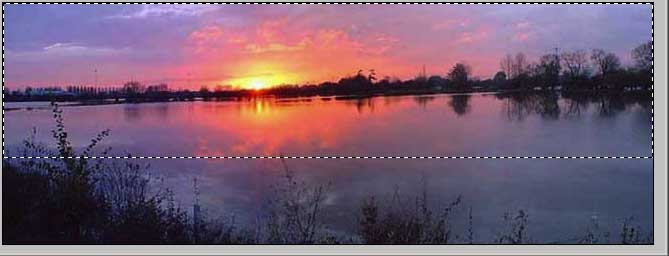
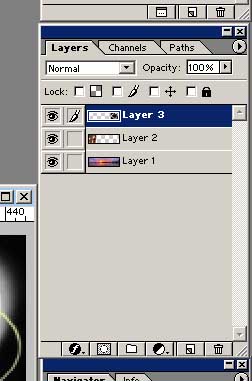
Repeat the above step for the atom image, placing it to the right of the sig and you should end up with the sig as shown below and three layers in the layers box.. |
|
 |
 |
|
Now we start to move onto the fun stuff.
|
|