A Rough guide to Sig Creation
|
Step 4 - Manipulating The Images Part 1
|
|
|
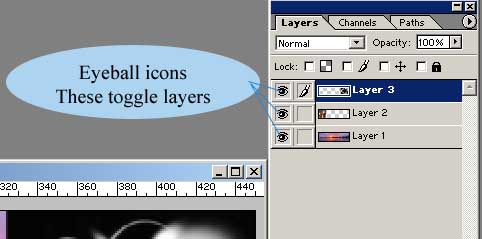
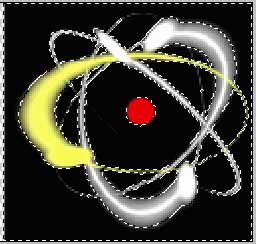
I am going to start this new sig by removing the black
area from the atom logo. The atom is layer 3 in the layers window. By
clicking the little eyeball logos in this window, you can toggle the
layers on and off. Have a quick play with this to get a feel for their
mode of operation. |
|
|
I wish to work on layer 3, so turn off layers 1 and
2 to get this |
|
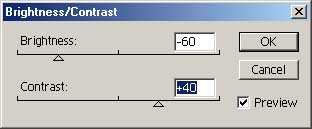
| Before I remove the black area, I am going to adjust the brightness and contrast. This can be selected from the 'Image' drop down menu as shown. This will enhance the colours in the image. | 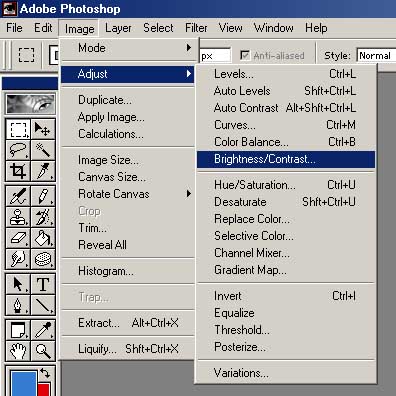 |
|
|
A dialogue box like the one on the left will appear. As can be seen, I have decreased the brightness by -60 but increased the contrast by +40 |
|
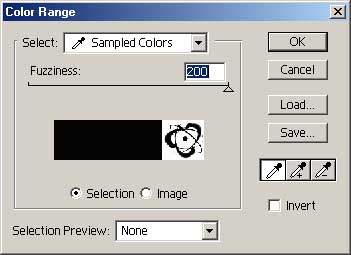
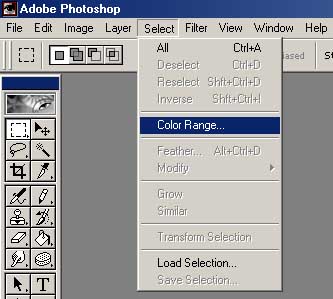
Next, using 'Select' 'Color Range...', I get a dialogue
box and an eye dropper cursor with which I can select the black area
of the atom image.
|
 |
|
|
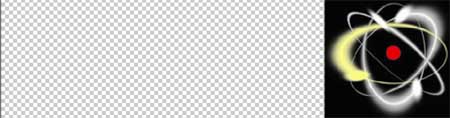
I used the eye dropper on the image in my sig to ensure
that I selected the correct region.
The atom image now has a complex marquee around it (Below, left). Simply press the delete key to remove the black and, with the rectangular marquee tool selected, click anywhere in sig area to deselect the animated dotted line leaving the image as shown below right. |
|
|
 |
|
Turn on the other two layers once more and the sig
is beginning to take shape.
|
|
 |
|
|
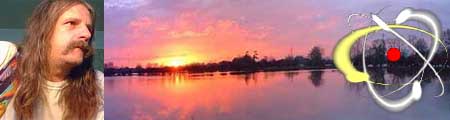
Next, we will remove the unnecessary bits of the photo..
|
|