A Rough guide to Sig Creation
|
Step 3 - Preparing the Images (Part 1)
|
|
|
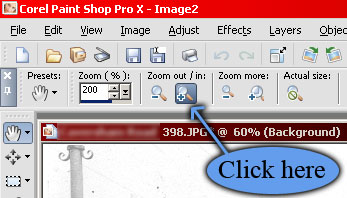
I like to work with enlarged images, therefore, I have magnified my empty sig by selecting the hand tool and clicking the zoom button in the tool function bar at the top of the screen. Keep clicking until the size is comfortable to work with. |
 |
|
|
 |
 |
|
|
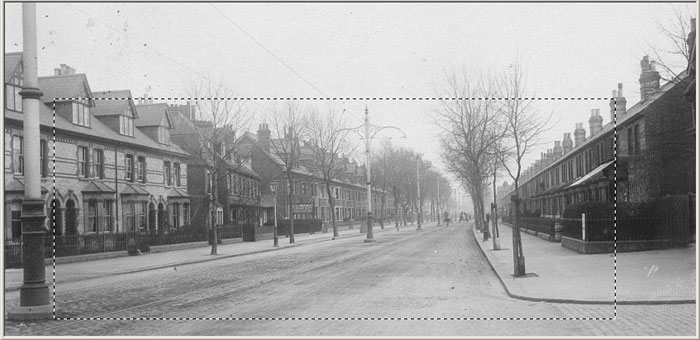
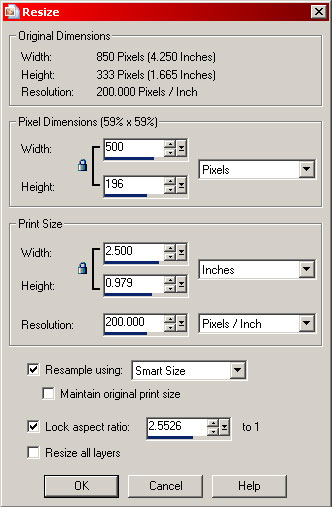
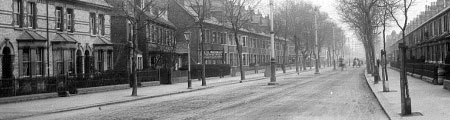
Using the 'Image' menu, select 'Crop to Selection'. On the resulting image, use the 'Image' menu and select 'Resize'. Ensure that the Pixel Dimensions box has 'Pixels' selected in the drop down menu and that the 'Lock aspect ratio' tick box has a tick in it. Next, set the width a few pixels larger than the finished sig and make sure that the height is greater than our sig size. When everything is set correctly, click OK. Once the image is re-sized, select the entire image with the selection tool and cut (CTRL & X) the entire image. Switch to the new, blank layer, and use the 'Edit' menu and 'Paste As New Layer' to paste the image onto the sig. |
 |
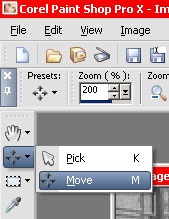 |
Ensure that the 'Raster 2' layer is selected and use the Move tool to position the background image to your satisfaction. |
|
I will now switch to the window with my photo in it. Using the same resizing technique as above, resize the image to a height of 110 pixels. This will ensure that the top of my head will be just below the top of the sig.
|
|
|
Cut the image completely and paste it into the sig. It should show up as Raster 2 in the layers box |
 |
|
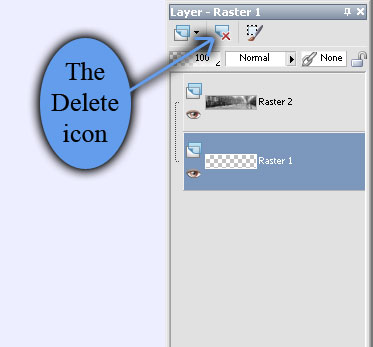
Raster 1 is empty and, therefore, not required. Highlight
it and click the icon marked to the right. Click 'OK' in the confirmation
box and that should leave us with just the one layer marked Raster 2.
|
 |
|
Now we start to move onto the other images that will
feature in my sig.
|
|