A Rough guide to Sig Creation
|
Step 5 - Placing The Images
|
|
|
|
|
|
|
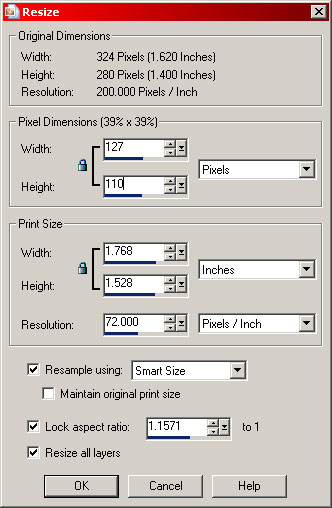
Resizing is achieved the same way as the background image. We will start with the picture of me. Make sure that the Raster 1 layer is selected before clicking the 'Image' menu and selecting 'Resize Make sure that that drop down menu in the 'Pixel Dimensions' box is set to Pixels and that the 'Lock aspect ratio:' is ticked. Set the Resolution to 72.000 Pixels / Inch and set the height in the 'Pixel Dimensions' box to 110. As the drawing takes up the full frame, making it slightly smaller in height than the background image will ensure that it fits with a little room at the top. Click OK and the image will be resized. |
|
Do exactly the same for the image of Britannia but in this case, as there is some space above and below the image, the height can be set at 120 - the height of the background image. That should leave us with two small images ready for placing onto the sig. (Right) |
 |
|
|
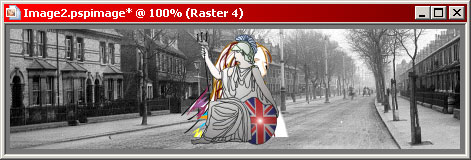
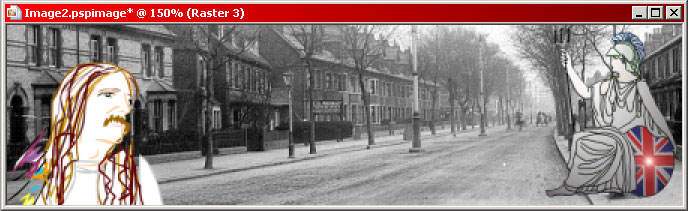
To place the images, all we have to do is use the 'Selection' tool to select the whole image. Cut (CTRL+X) the image from its window, then switch to the sig, click the 'Edit' menu and select 'Paste As New Layer'. Do this for both the picture of me and the image of Britannia and you should have something like the below image. |
|
|
|
|
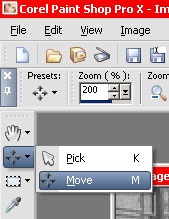
Re-select the 'Move' tool |
 |
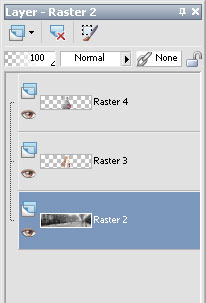 |
At this point, we should now have three layers. Raster 2 contains the background image, Raster 3 contains my picture and Raster 4 has Britannia. Select Raster 3 and, using the 'Move' tool, position my picture at the bottom left corner of the sig. Do the same for Raster 4 and place Britannia at the right-centre of the sig like below. |
 |
|
|
It's coming on nicely. Next, we will add the text.
|
|