A Rough guide to Sig Creation
|
Step 6 - Adding the Text
|
|
|
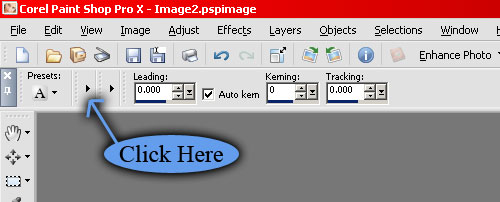
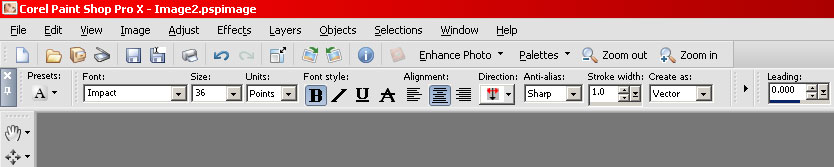
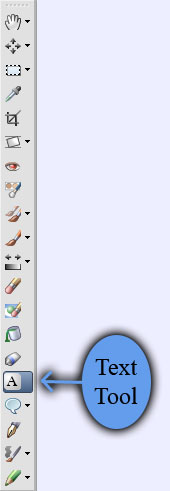
Now comes an easier section. We will add my screen name to the sig. First, select the Text tool from the toolbar as shown. A status bar will appear at the top of the screen from which you can set various parameters such as font, size, etc. If you are unable to see the font selector, just click on the small arrow as shown below. |
 |
|
|
|
|
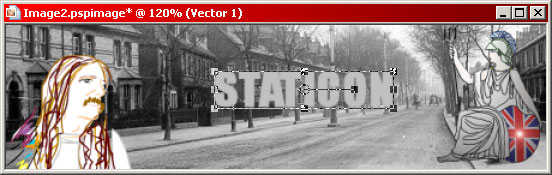
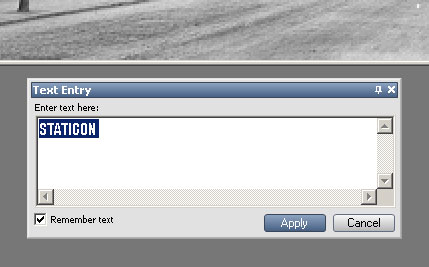
Click anywhere near the middle of the sig and a text entry box will
appear. |
|
|
Type the screen name into the box. The text appears on the sig as you type. When you are happy with the text, click 'Apply'. If you need to edit the font or size after applying, just click the 'Text' tool on the text and it will bring back the 'Text Entry' box - you may then edit the text or make adjustments with the controls in the status bar. |
 |
|
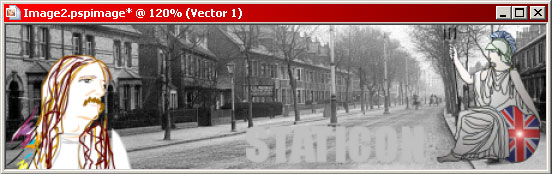
As you can see, there is a box with nodes around the text on the sig. By clicking on these nodes, you may resize or rotate the text. Have a play and see what they do. Unless you changed it, the text will have been applied as a vector (The layer is called Vector 1) This method allows resizing without losing quality of font |
|
|
|
|
|
|
|
|
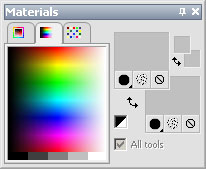
Next, select the 'Text' tool and click on the text to get the text
entry box back up. |
 |
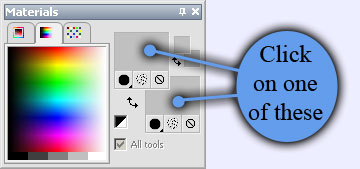 |
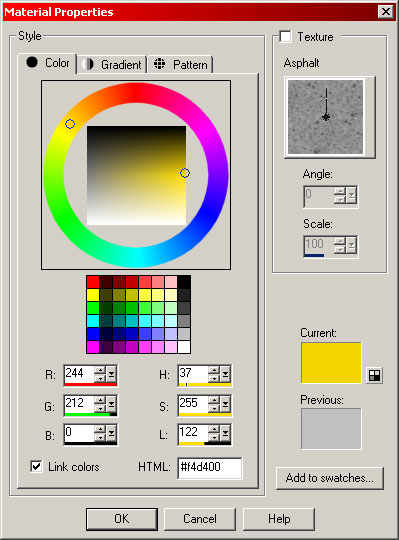
Click on one of the marked areas and a 'Material Properties' box appears. |
|
Select a colour using the circle and square then make a note of the RGB values and click OK. Do the same with the other grey box and enter the same RGB values. This makes the text a uniform colour but, if you wanted a border around the text, you could pick a different colour if you wish. Click 'Apply' on the text entry box and we are just about done. |
 |
 |
|
| It is now beginning to look like a sig.. | |